
Boyne Defeat(c.1690s)
For Limerick, the Battle of the Boyne was the decisive defeat that sent the Jacobite cause westward and made the Shannon frontier increasingly important. Although the battle was fought near Drogheda on 1 July 1690, its consequences reached directly towards Athlone, Galway and Limerick. The failure of James II to stop William of Orange at the Boyne meant that Limerick would soon become one of the last great centres of organised resistance in Ireland.
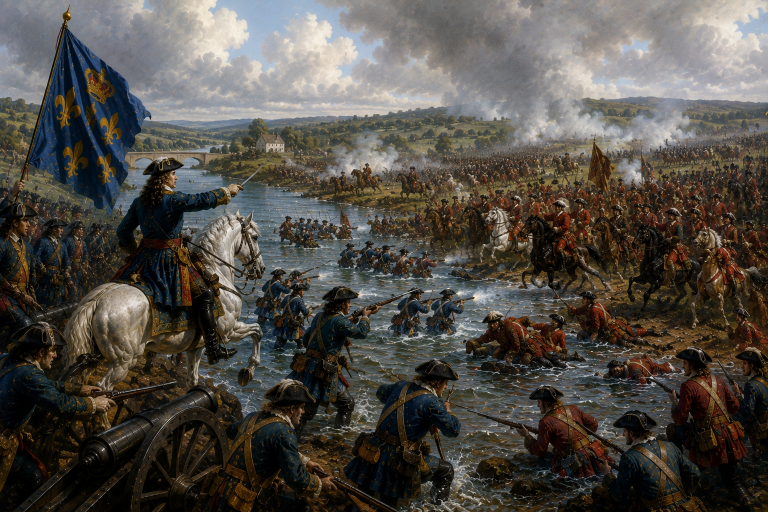
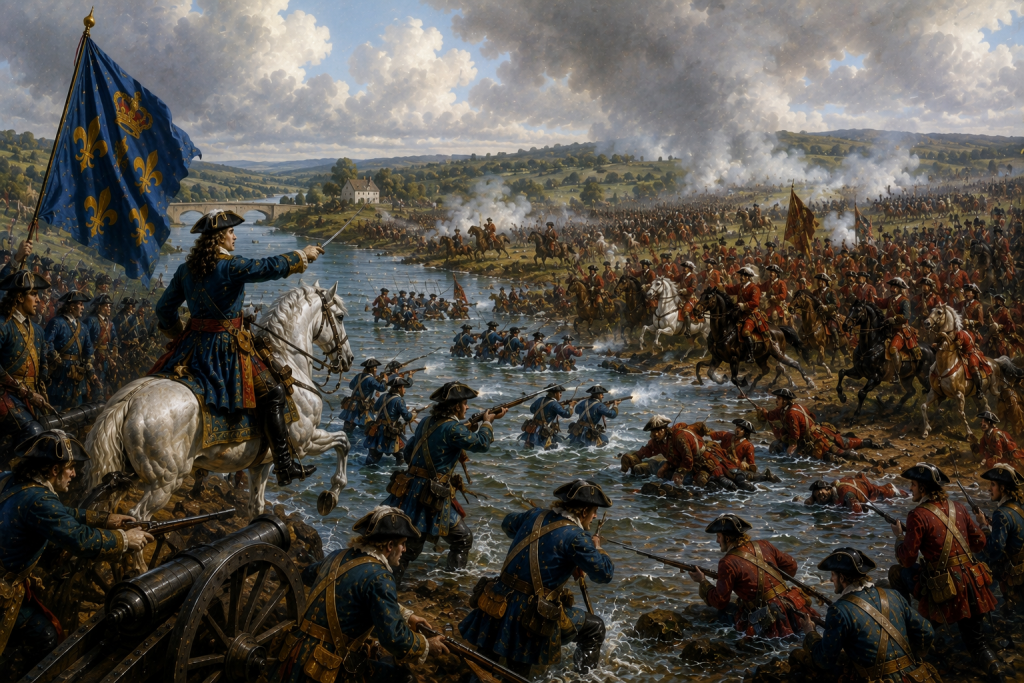
William reached the northern bank of the river with a larger, better-equipped army and powerful artillery. James placed his smaller force on the southern side, near the heights of Donore. The Jacobite army included Irish infantry, experienced cavalry and French troops under the Duke of Lauzun. Its greatest weakness was the poor distribution of troops, the neglect of the crossing at Slane and the king’s uncertainty about whether to fight or retreat.
William planned a broad attack. Count Schomberg and General Douglas were sent towards Slane to turn the Jacobite left, while the main Williamite force prepared to cross near Oldbridge. James responded slowly. Sir Neale O’Neill’s dragoons defended the pass at Slane with determination, but they were eventually forced back after heavy fighting. French troops moved to oppose Schomberg but failed to launch a decisive attack, leaving the Jacobite left exposed.
At the centre, William’s Dutch Guards crossed the Boyne under fire. Irish infantry advanced into the water and fought them at close quarters. Jacobite cavalry repeatedly charged the Williamite troops and at several moments appeared capable of turning the battle. Richard Hamilton led one particularly successful attack that broke Huguenot infantry and threw supporting cavalry into confusion.
The Duke of Schomberg, George Walker of Derry and several senior officers were killed during the fighting. Yet James did not commit his reserves at the critical moment. Patrick Sarsfield remained near the king, while French forces on the left were largely neutralised. William reorganised his troops, crossed the river and used his superior numbers to press the Jacobite centre and right.
Irish cavalry continued to fight with remarkable discipline, repeatedly charging to protect the retreating infantry. Hamilton was wounded and captured, while the Duke of Berwick narrowly escaped after his horse was killed. The Jacobite army eventually withdrew in good order through Duleek, carrying away its standards and remaining artillery.
James returned rapidly to Dublin and soon departed for France, leaving his supporters to continue the war. The Boyne did not destroy the Jacobite army, but it ended James’s realistic hope of holding the capital and weakened confidence in his leadership.
The road west now became unavoidable. William’s forces advanced, while the Jacobites reorganised behind stronger natural defences. The Shannon offered the best remaining barrier to conquest, and Limerick stood near its lower crossing. Within weeks, the city’s walls, bridges and citizens would face the consequences of the defeat on the Boyne and assume a central place in the struggle for Ireland. There, the survival of the Jacobite cause would depend upon defence, endurance and unity.
Primary Sources
These sources support the article’s account of William’s injury, the river crossings, the Jacobite cavalry charges, the retreat through Duleek and the loss of Dublin. The supplied narrative describes William being struck while reconnoitring and the subsequent cannonade against the Jacobite position.
- A Relation of the Victory Obtained by the King in Ireland — July 1690.
Published immediately after the battle, this official Williamite broadside describes the crossing of the Boyne on 1 July 1690 and the subsequent surrender of Drogheda. It is one of the earliest printed accounts of the battle, although it was intended to celebrate and justify William’s victory. (Folger Catalog) - George Story, A True and Impartial History of the Most Material Occurrences in the Kingdom of Ireland — 1691.
Story served as a chaplain with William’s army and witnessed the Irish campaign. His narrative describes the armies’ positions, the crossings near Oldbridge and Slane, the death of Schomberg, the Jacobite cavalry attacks and the retreat towards Duleek. Despite its title, it presents a strongly Williamite interpretation. (Quod) - Eyewitness Account of the Battle of the Boyne — c. 1690.
This manuscript in the National Library of Ireland records William’s reconnaissance, the Jacobite artillery shot that wounded him, the alarm caused among his followers and his decision to resume examining the battlefield. It directly supports the opening events described in the supplied account. (National Library of Ireland Catalogue) - James FitzJames, Duke of Berwick, Memoirs of the Marshal Duke of Berwick.
Berwick, the son of James II, personally commanded Jacobite cavalry at the Boyne. His memoirs provide a participant’s account of the battle, the conduct of the Irish troops, the command decisions taken by James and Lauzun, and the organised withdrawal after the Williamite crossings. Although published decades later, they preserve Berwick’s personal testimony. (Folger Catalog) - J. Fraser, A Full and True Account of the Late Revolution in Dublin — 1690.
Written as a letter by a man who claimed to have been imprisoned in Trinity College Dublin, this contemporary pamphlet describes events in the capital following the defeat of James’s army at the Boyne and before William’s entry into Dublin. It supports the article’s account of the political and military consequences of the Jacobite retreat. (Folger Catalog)
The official relation, Story and Fraser mainly reflect the Williamite position. Berwick offers an essential Jacobite participant’s perspective, while the National Library manuscript provides independent eyewitness detail concerning William’s injury.